
Integrating Dynamics 365 Business Central with Microsoft Outlook can greatly enhance your business operations by bringing essential business data directly into your email and calendar environment. Here’s an introduction to get you started:
Introduction to Integrating Business Central with Microsoft Outlook
In the modern business landscape, efficiency and seamless access to information are key to success. By integrating Dynamics 365 Business Central with Microsoft Outlook, you can streamline your workflows and improve productivity. This integration allows you to:
- Access Business Data in Outlook: View customer, vendor, and transaction details directly within your Outlook emails and calendar appointments. This ensures you have the necessary information at your fingertips without switching between applications.
- Track Emails and Appointments: Link emails and calendar events to Business Central records, maintaining a comprehensive history of interactions with customers and vendors. This helps in keeping all relevant information organized and easily accessible.
- Create and Send Documents: Generate and send quotes, invoices, and other business documents from within Outlook using Business Central data. This feature simplifies the process of managing business communications and transactions.
- Enhance Customer Insights: Gain valuable insights into your contacts by viewing Business Central data related to them directly in Outlook. This includes financial data, sales history, and more, enabling you to make informed decisions quickly.
- Contact Insights: View Business Central data related to contacts directly within Outlook. This includes financial data, sales history, and more.
Getting Started
To begin integrating Business Central with Outlook, follow these steps:
- Install the Business Central Add-in for Outlook: Go to the Office Store, find the Business Central add-in, and install it. If you’re an admin, you can deploy it organization-wide using Centralized Deployment in the Microsoft 365 admin center.
- Sign In and Configure: Open the Business Central add-in in Outlook and sign in with your Business Central credentials. Follow the prompts to configure the add-in and connect your accounts.
- Explore Features: Once connected, explore the various features available, such as viewing contact insights, tracking emails, and creating business documents.
By integrating these powerful tools, you can create a more efficient and connected work environment, helping your team stay focused and productive.
Integrating Dynamics 365 Business Central with Outlook can streamline your business processes and improve efficiency. Here are the steps to get started:
1. Install the Business Central Add-in for Outlook
Admin Deployment: If you’re an admin, you can use Centralized Deployment in the Microsoft 365 admin center to install the add-in for the entire organization, specific groups, or individual users.

User Installation: If you’re a user, you can install the add-in yourself if it hasn’t been done by your admin. Go to the Office Store, find the Business Central add-in, and follow the installation instructions.

2. Configure the Add-in
Contact Insights: This add-in allows you to view Business Central customer or vendor information directly in Outlook emails and calendar appointments. You can also create and send business documents like quotes and invoices.

Document View: This add-in provides a direct link from an email to the actual business document in Business Central when an email refers to a document number.


3. Use the Add-in
Access in Outlook: Once installed, you can access the Business Central add-in from any new or existing email message or calendar appointment in Outlook. Look for the Business Central icon in the ribbon (for the Outlook app) or under Apps (for Outlook on the web).


Sign In: The first time you use the add-in, you might be prompted to sign in to Business Central using your account.

4. Additional Configuration
Server-Side Synchronization: Ensure server-side synchronization is enabled for seamless integration of emails, contacts, and calendar events.
Configuration Packages: Go to the “Configuration Packages” section in Business Central and install the “Server-Side Synchronization” package
Setup: Follow the setup instructions to configure server-side synchronization for emails, appointments, contacts, and tasks
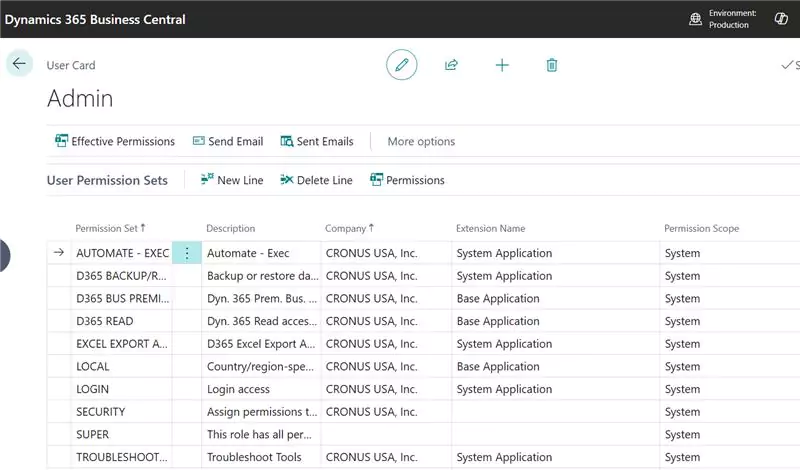
Security Roles and Permissions: Set up appropriate security roles and permissions to control access to Business Central data within Outlook